Allie Burton
1/14/16
paper
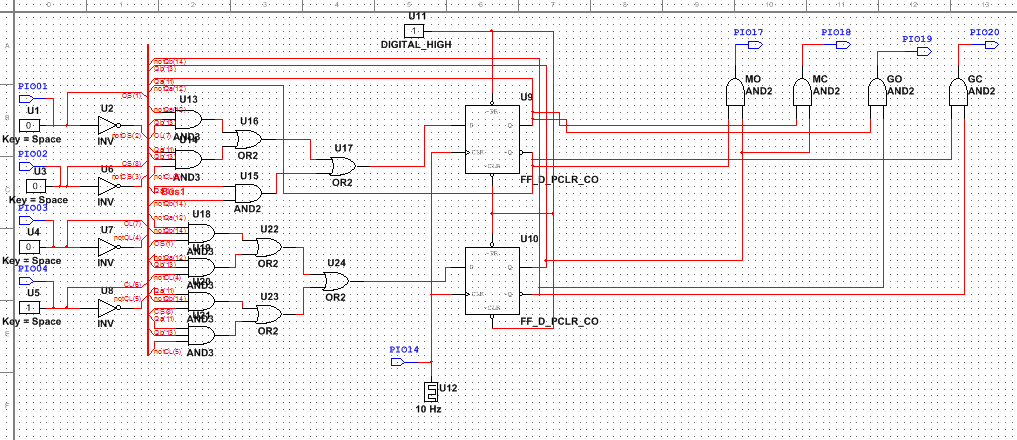
multisim circuit
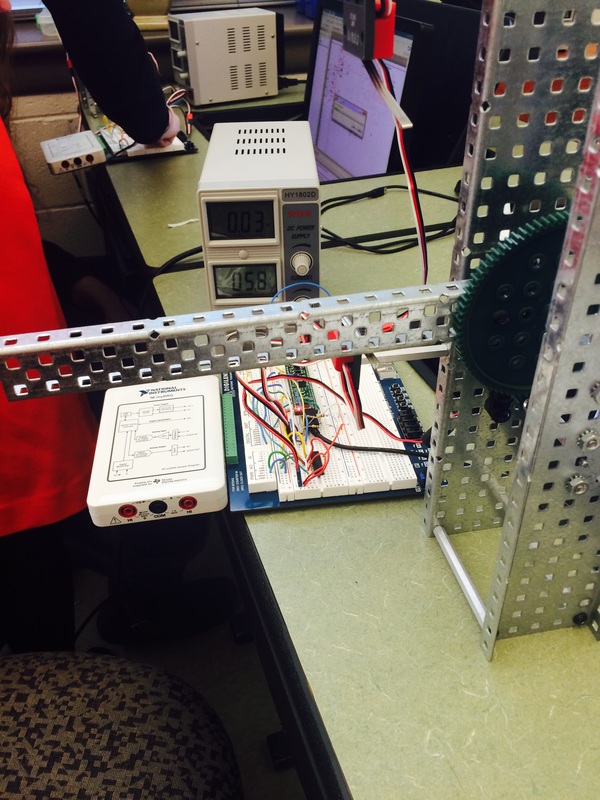
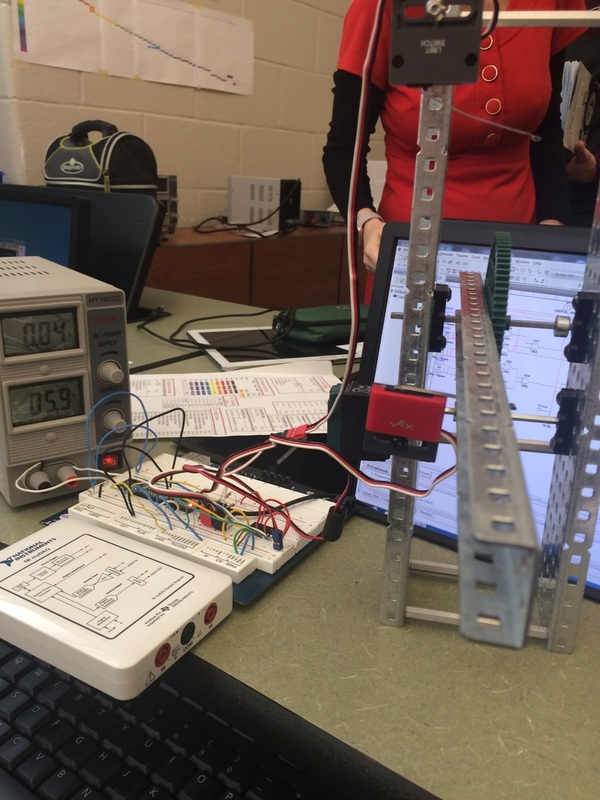
VEX Prototype
|
|
Conclusion
Dear Mrs. Zienty,
This project, though challenging at times, I did not think to be the hardest project we had all year. The process was rather simple; build the mechanism, design the logic, and wire to a breadboard. State machines are clear and precise, so the logic wasn’t difficult to solve for and implement onto MultiSim. Verbally explaining what was going on got easier as we continued with the project and we thought more and more about how it was supposed to work, and what all the information we had was truly saying. Wiring the board was a bit tricky at first. How the inputs went through resistors, to the programmable chip was very similar to the Copy Jam project we just completed. We looked at the data sheet for the logic chip given to us, which was very useful in accurately wiring it. Reading datasheets has gotten much easier since the beginning of the year. We have a clear understanding of what we are looking at, what each prong means, and when it is best to implement each chip. The limit switches connect to both chips, which at first was confusing to understand. Which wire goes where? By looking at the given resources, we were able to quickly remedy our predicament and continue. Next came the motor, which was simple enough. After that, most of the other wiring was basic. In short, this project was straightforward, and the only thing I would have done differently is change the placement of the logic chip to a place on the board that was easier for wires to reach.
This project, though challenging at times, I did not think to be the hardest project we had all year. The process was rather simple; build the mechanism, design the logic, and wire to a breadboard. State machines are clear and precise, so the logic wasn’t difficult to solve for and implement onto MultiSim. Verbally explaining what was going on got easier as we continued with the project and we thought more and more about how it was supposed to work, and what all the information we had was truly saying. Wiring the board was a bit tricky at first. How the inputs went through resistors, to the programmable chip was very similar to the Copy Jam project we just completed. We looked at the data sheet for the logic chip given to us, which was very useful in accurately wiring it. Reading datasheets has gotten much easier since the beginning of the year. We have a clear understanding of what we are looking at, what each prong means, and when it is best to implement each chip. The limit switches connect to both chips, which at first was confusing to understand. Which wire goes where? By looking at the given resources, we were able to quickly remedy our predicament and continue. Next came the motor, which was simple enough. After that, most of the other wiring was basic. In short, this project was straightforward, and the only thing I would have done differently is change the placement of the logic chip to a place on the board that was easier for wires to reach.
